Create Your First Agent
This guide walks you through creating your first AI agent from scratch. No document upload and no database connection is required for this tutorial.
You will build Brew — a customer support agent for a fictional cafe called Brew & Chat Cafe.
Scenario Used in This Tutorial
| Field | Value |
|---|---|
| Organization name | Brew & Chat Cafe |
| Industry | Food & Beverage |
| Business website | Leave empty |
| Agent name | Brew |
| Communication style | Friendly and helpful - Warm but efficient |
| Proactiveness | Balanced - Guide when needed |
| Language | English |
Step 1 — Open New Agent
From My Agents, click + New Agent in the top navigation.
Step 2 — Select Agent Type
There are three pre-configured agent types available, plus a Custom Solution option. Choose the one that best fits your use case.
For this tutorial, click Customer Support.
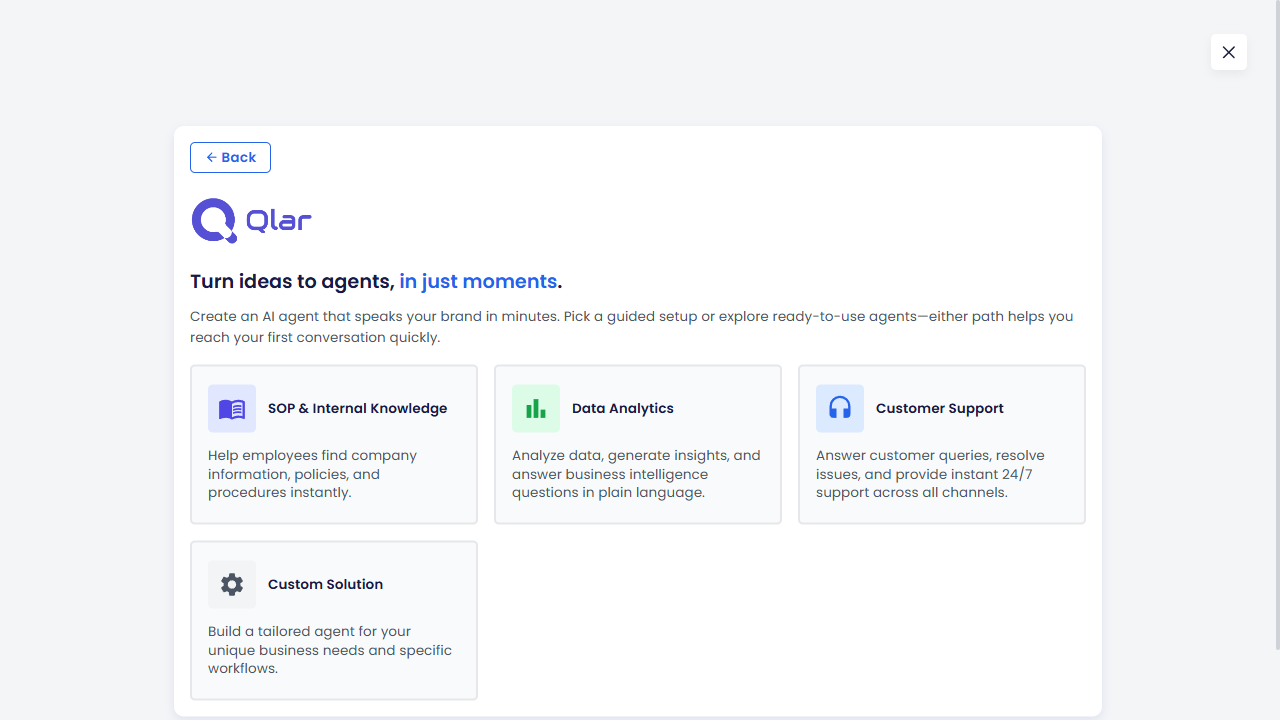
Customer Support is the closest fit for a cafe assistant that handles reservations, menu questions, and general inquiries.
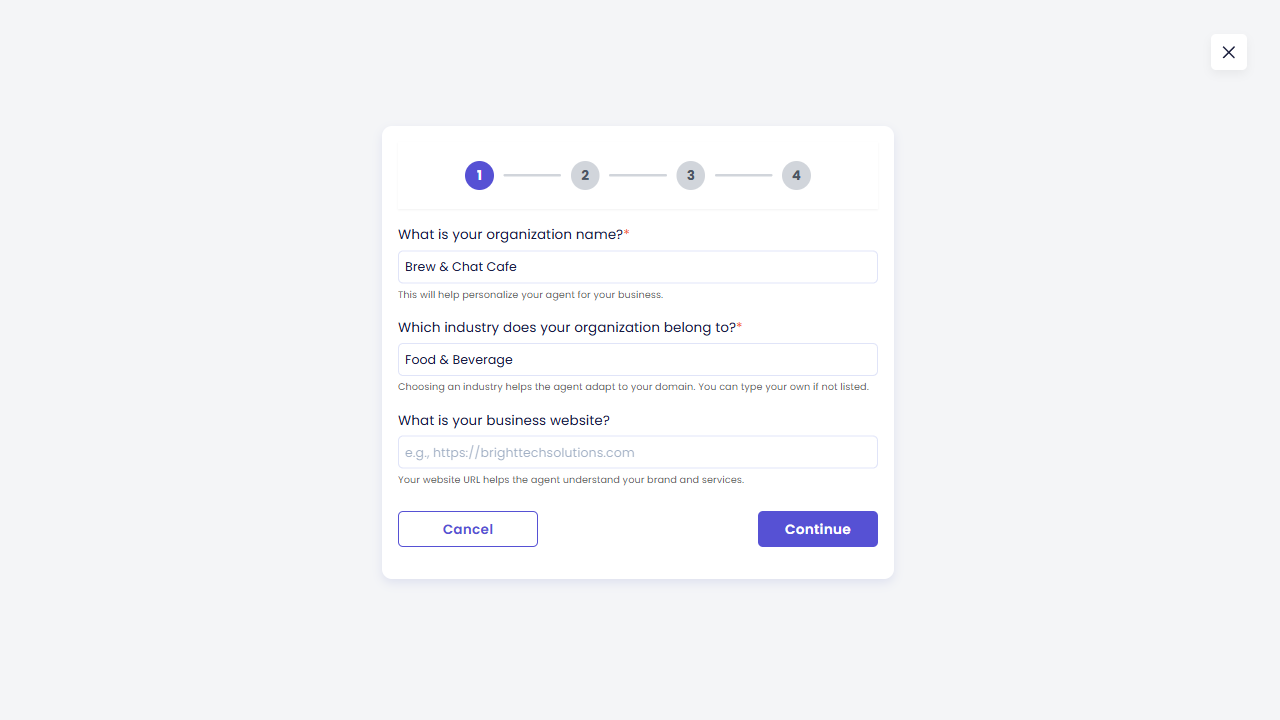
Step 3 — Fill Organization Information
Fill the form with your organization details. This helps the wizard generate a more accurate default persona for your agent.
- What is your organization name? →
Brew & Chat Cafe - Which industry does your organization belong to? →
Food & Beverage - What is your business website? → Leave blank
Click Continue.
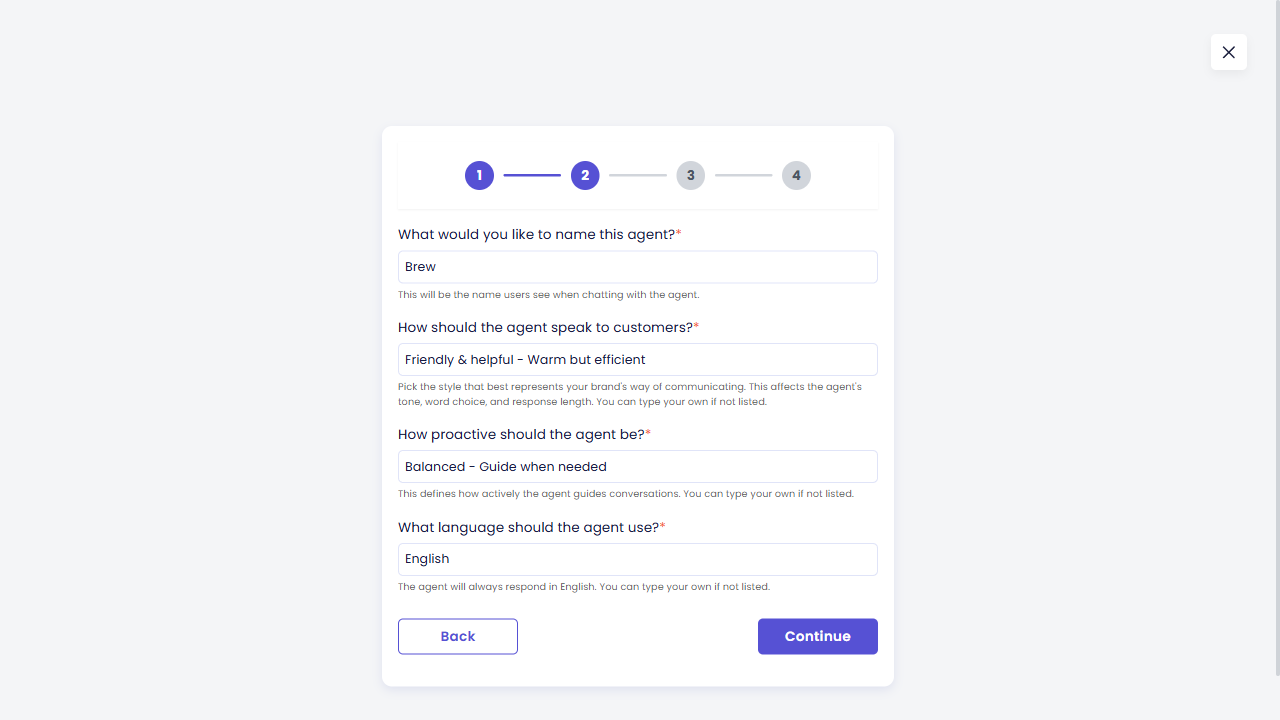
Step 4 — Fill Agent Behavior Settings
Configure how the agent communicates with users.
- What would you like to name this agent? →
Brew - How should the agent speak to customers? →
Friendly and helpful - Warm but efficient - How proactive should the agent be? →
Balanced - Guide when needed - What language should the agent use? →
English
Click Continue.
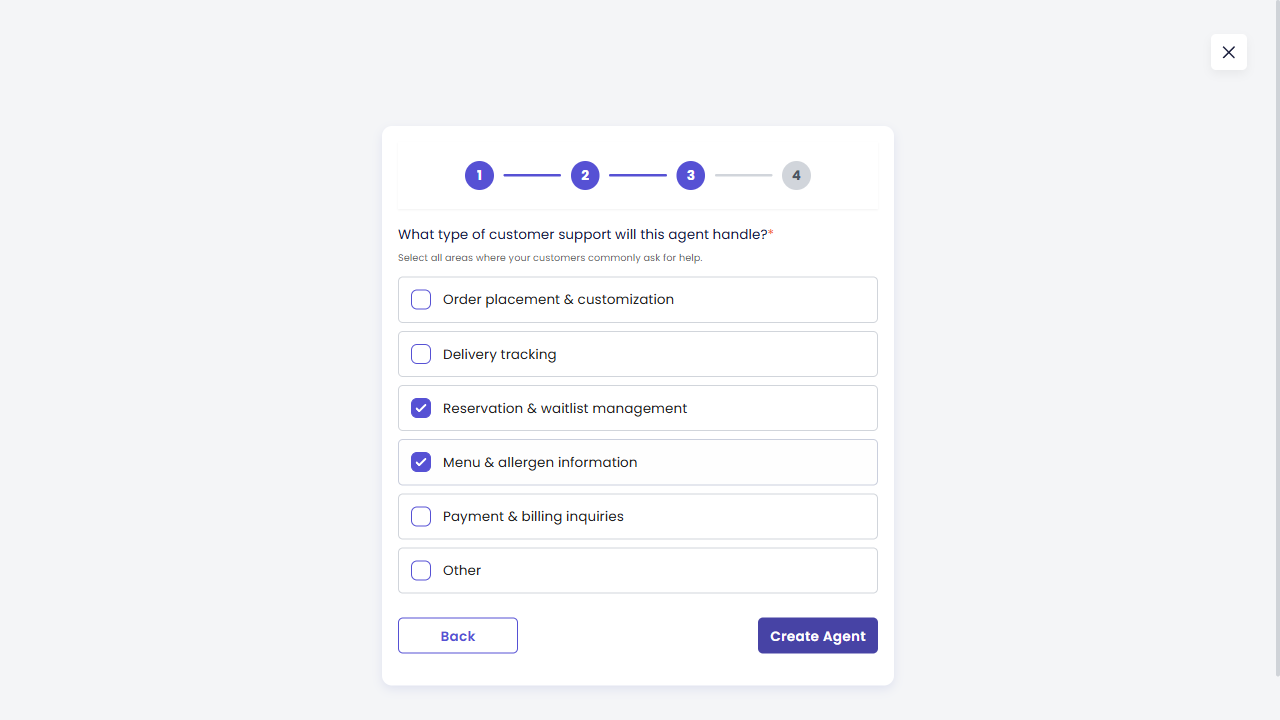
Step 5 — Choose Support Capabilities
Select the topics this agent will handle. For a cafe, the recommended selections are:
- Reservation & waitlist management
- Menu & allergen information
Then click Create Agent.
Step 6 — Skip Training Resources
After clicking Create Agent, you will see the Add Training Resources step.
For this tutorial, skip this step. Do not upload any file. Click Continue to proceed.
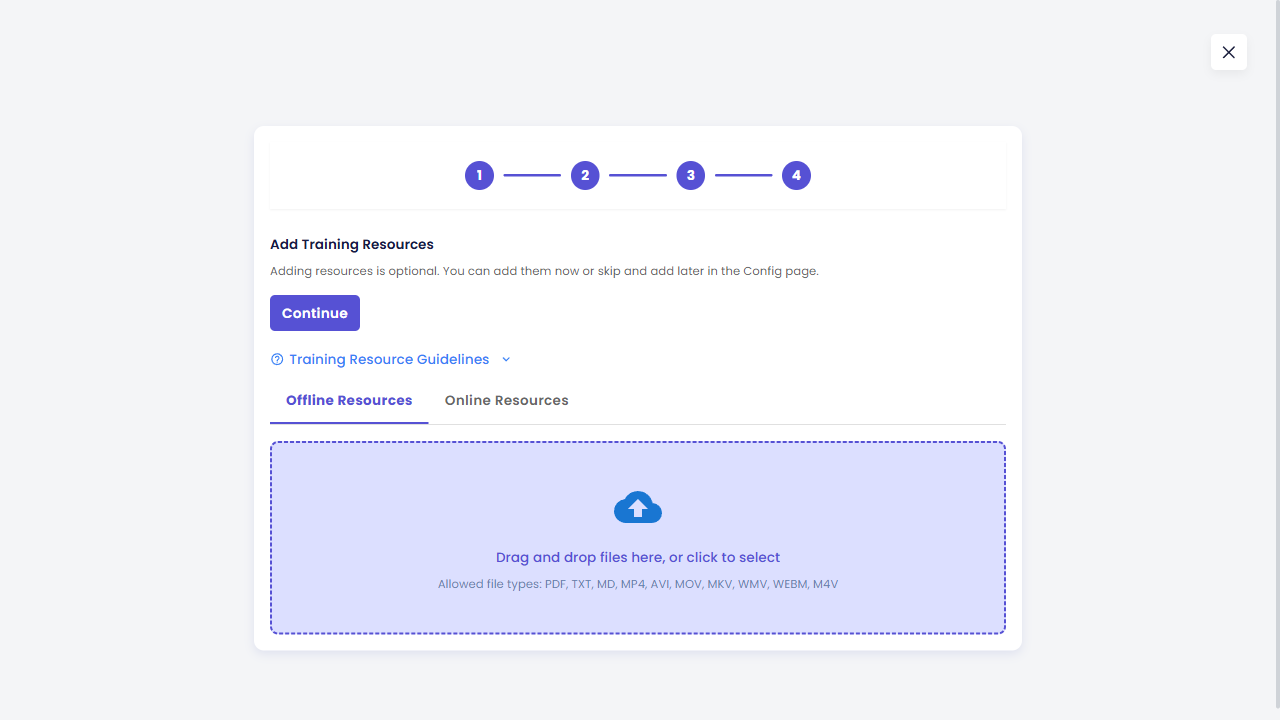
You can always come back later to add documents, FAQs, or website links to improve the agent's accuracy.
Step 7 — Agent Is Being Built
The system will now configure your agent in the background. This usually takes about 30–60 seconds.
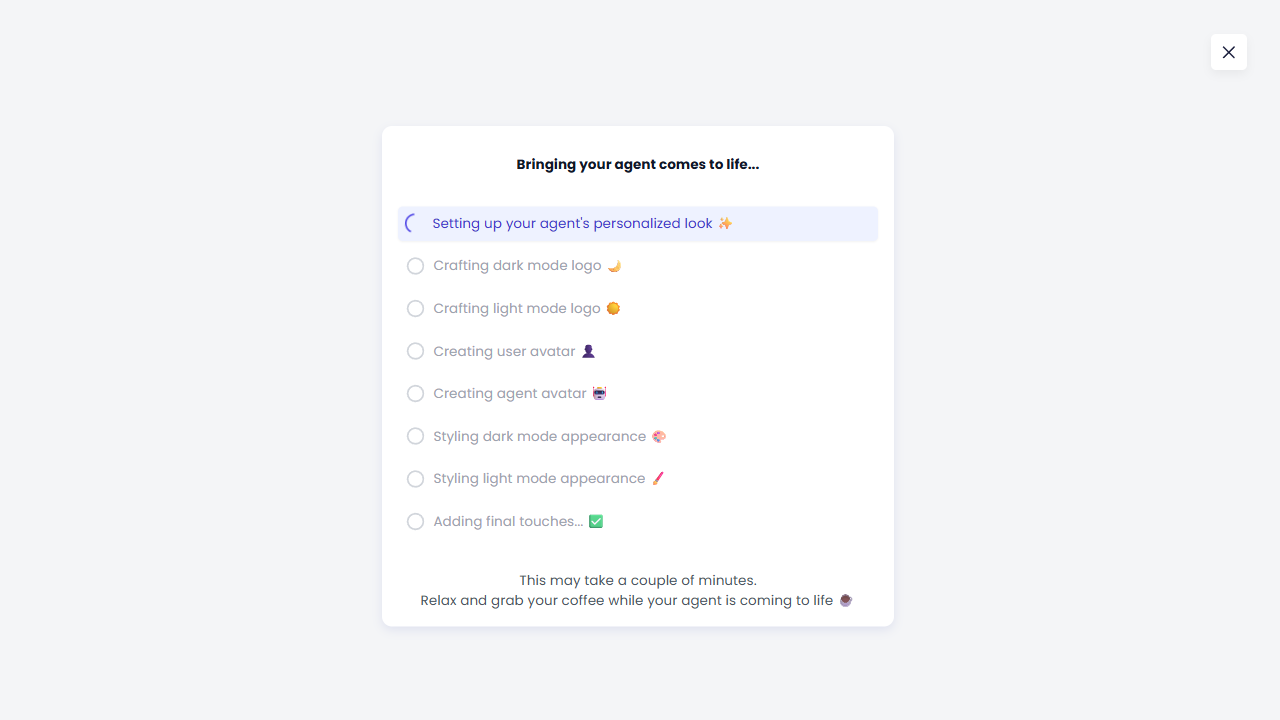
Wait until the process completes. You will be taken to the next screen automatically.
Step 8 — Agent Successfully Created
When the setup is complete, you will see a confirmation screen.
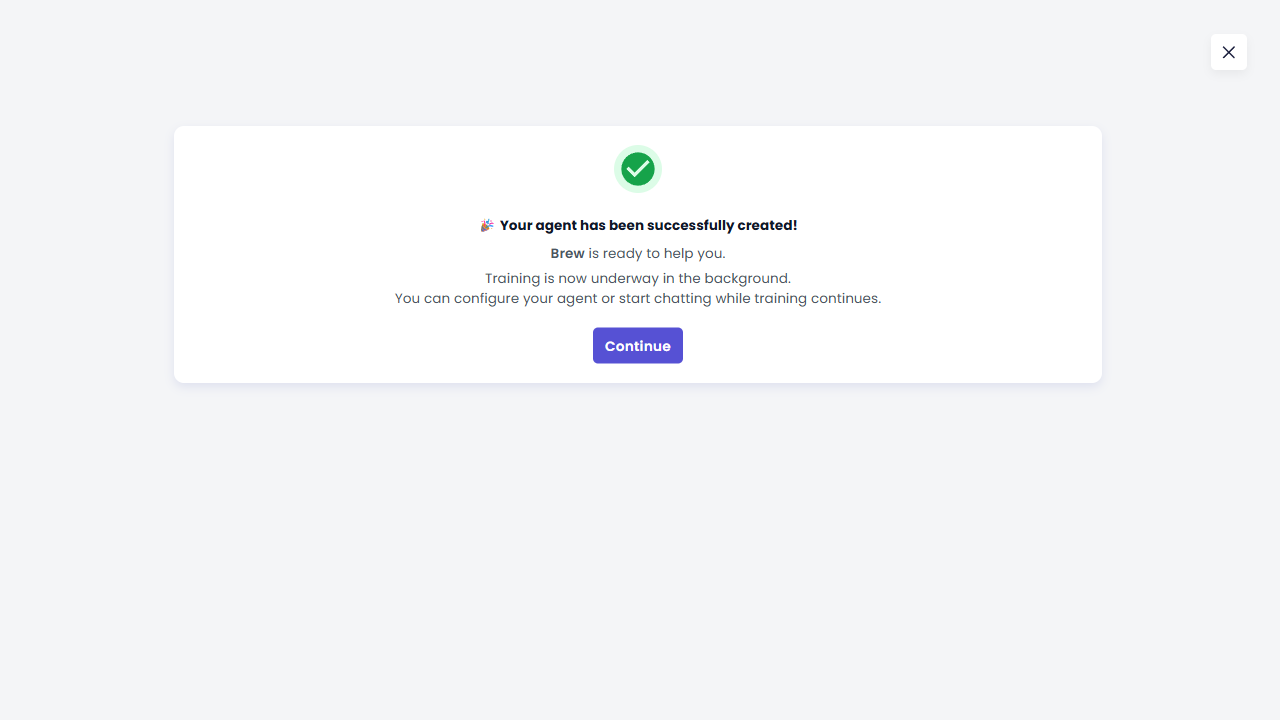
Click Continue to go to your agent's configuration page.
Step 9 — Explore the Config Page and Test the Agent
After clicking Continue, you will land on the agent's configuration page. The left side contains all configuration sections. The right side shows a live preview panel where the agent is already active and ready to chat.
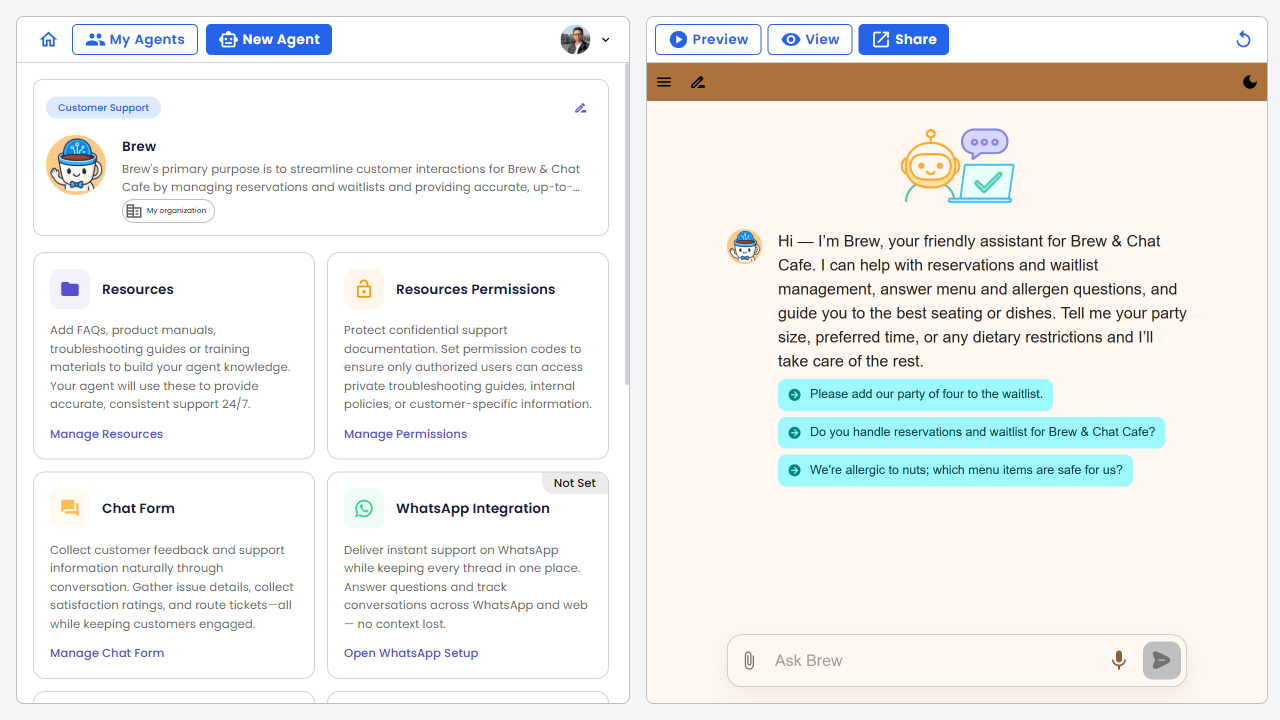
The preview panel shows:
- Brew's welcome message, generated automatically from the setup details you entered
- Suggested questions your users might ask
- An Ask Brew input field at the bottom
Try a conversation
Type a question in the input field at the bottom of the preview panel and press Enter (or click the send button).
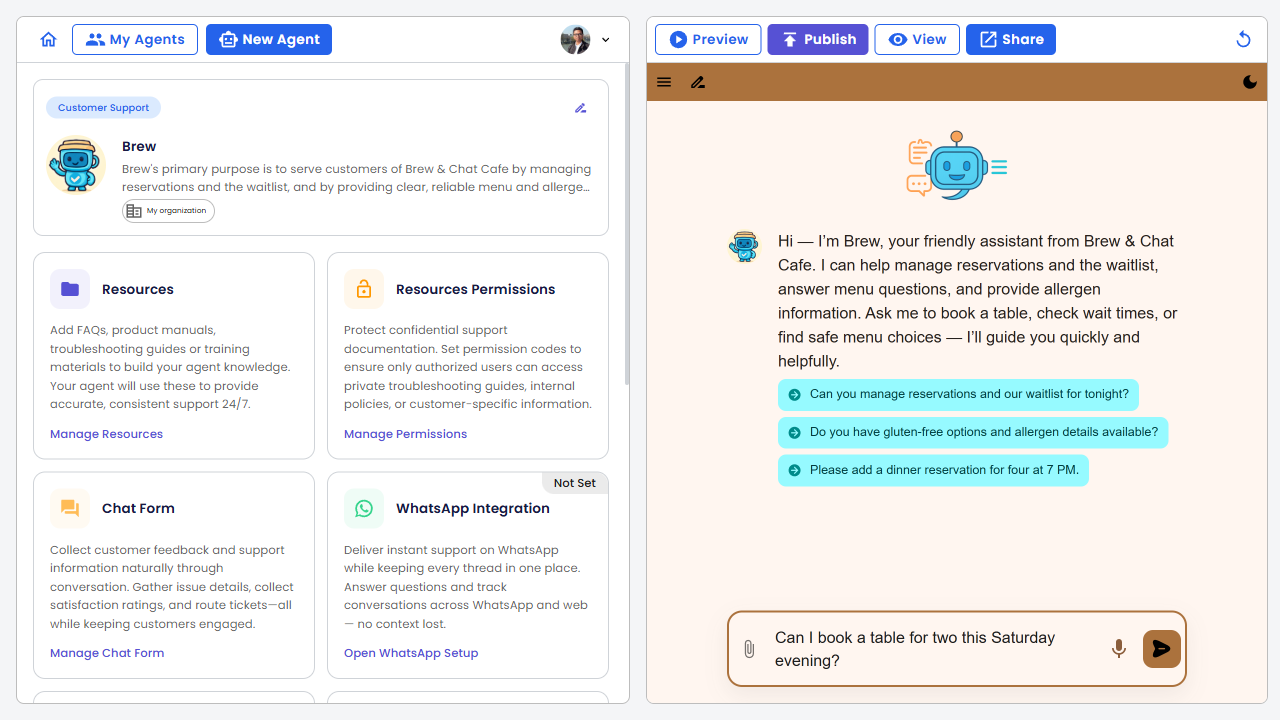
The agent will respond immediately in the same panel. You can continue the conversation to test different scenarios without leaving the configuration page.
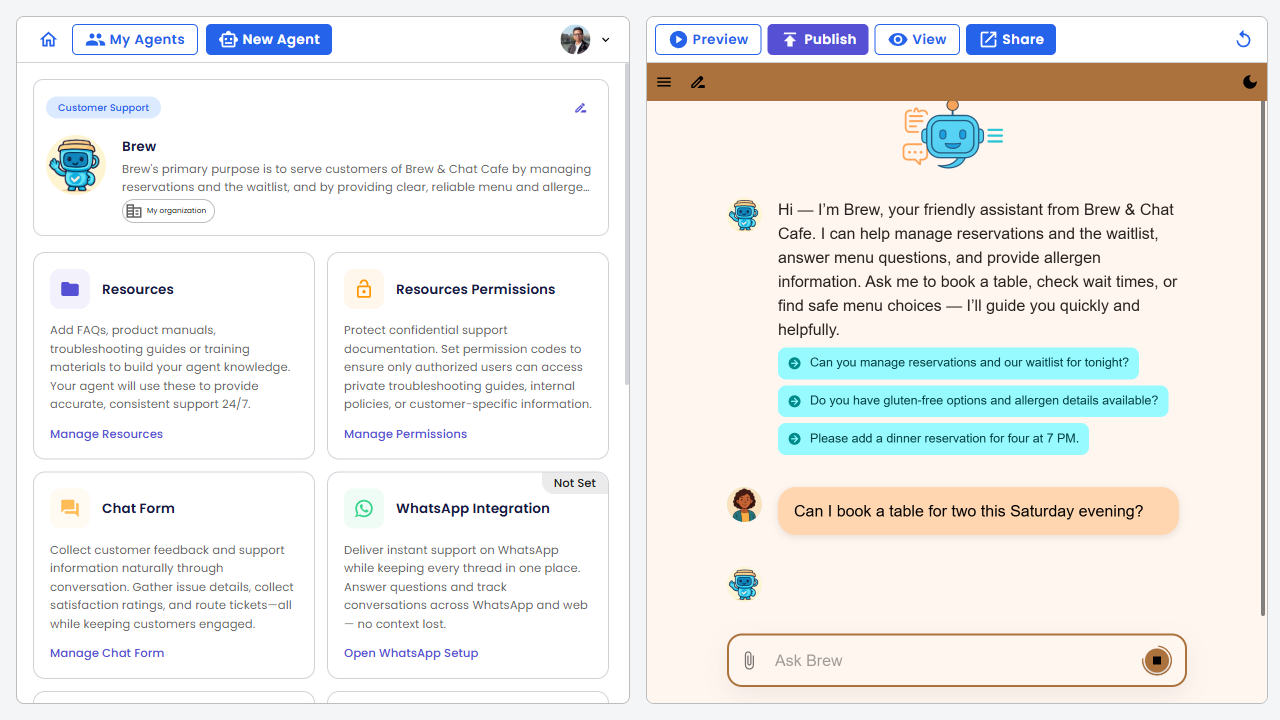
The preview panel uses the same AI model and the same knowledge base as the live agent. What you see here is exactly what your users will see.
What's Next?
You've created your first agent. Here are common next steps:
| If you want to… | Go to |
|---|---|
| Add a real menu or FAQ | Resources |
| Customize Brew's appearance and persona | Persona & Appearance |
| Deploy Brew to your website | Setup & Publish |
| Connect Brew to WhatsApp | WhatsApp Integration |
Troubleshooting
The agent doesn't know the answer to something it should. Upload the relevant document in Resources. Avoid scanned PDFs that haven't been OCR-processed.
The agent sounds too formal or too casual. Edit the tone in Persona → Basic Settings or adjust the system prompt in Persona → Advanced.
I made a mistake during setup. Everything set during the wizard can be changed in the configuration page. No need to re-create the agent.
The agent is giving incorrect answers. Add more specific resources or refine the instructions in Persona → Advanced.